Installation Instructions for Double Sided Address Sign Tiles

Step #1
- Address Tiles with Screws (included)
- Installation Template (included)
- Tape
- Power or Standard Screwdriver 5/16 Hex Drive Bit
- Awl or Sharp Pencil
- Tape Measure
- Level

Step #2
Securely affixed the installation template to your post or wall. Using an awl, transfer each center mark to the mounting service.

Step #3
Using a powered or standard screwdriver, install supplied screws with a 5 sixteenths inch nut driver. Leave head of screw approximately 1/8 inch proud of the surface. Do not drive flush.
Repeat for each panel in your address. Depending on substrate, drilling may be required.

Step #4
Slide each panel over set of corresponding screws. It is typically easier to start from the bottom of the set.

Step #5
To secure each panel, tighten the screws by hand with a 5/16″ nut driver. This is typically included in many multi-drive screwdrivers. Avoid power drivers, as it may damage the sign surface.

Step #6
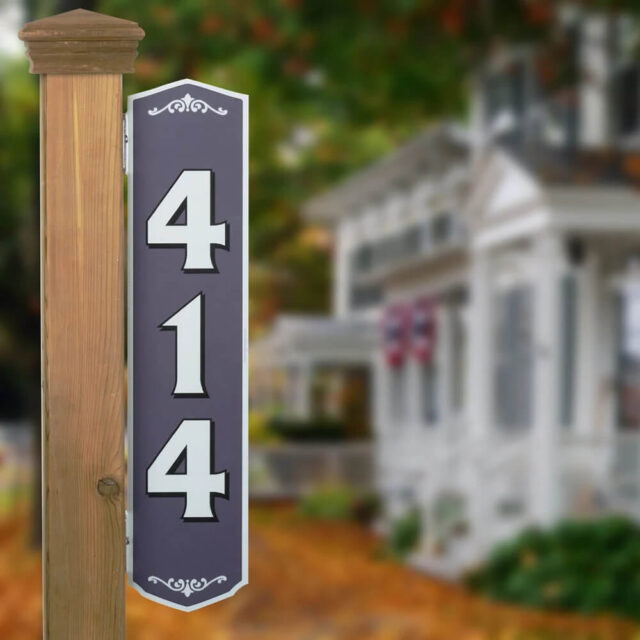
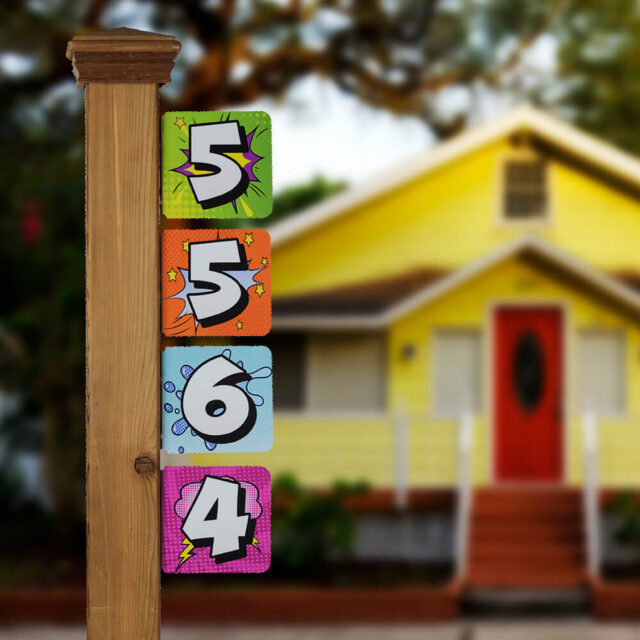
Stand back and admire your new the bright sign reflective address sign. Questions or want to send us a photo of your new sign? Send us an email at answers@thebrightsign.com.
To maintain your address sign, simply keep it clean with mild soap and water or glass cleaner. Also, throughout the year, make sure screws are secure.